Install wizard
To begin installation process, point your browser to the GLPI main address: https://{adresse_glpi}/
When GLPI is not installed; a step-by-step installation process begins.
Choose lang (Select your language)
The first step will let you choose the installation language. Select your lang, and click validate.

License
Usage of GLPI is subject to GNU license approval. Once licensing terms read and accepted, just validate the form.
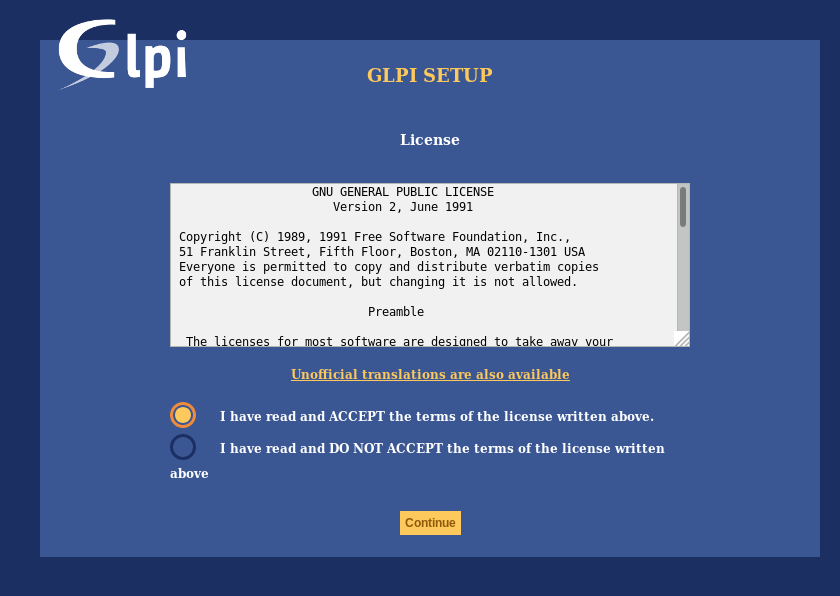
If you do not agree with licensing terms, it is not possible to continue installation process.
Install / Update
This screen allows to choose between a fresh GLPI installation or an update.

Click on install.
Environment checks
This step will check if prerequisites are met. If they’re not, it is not possible to continue and an explicit error message will tell you about what is wrong and what to do before trying again.
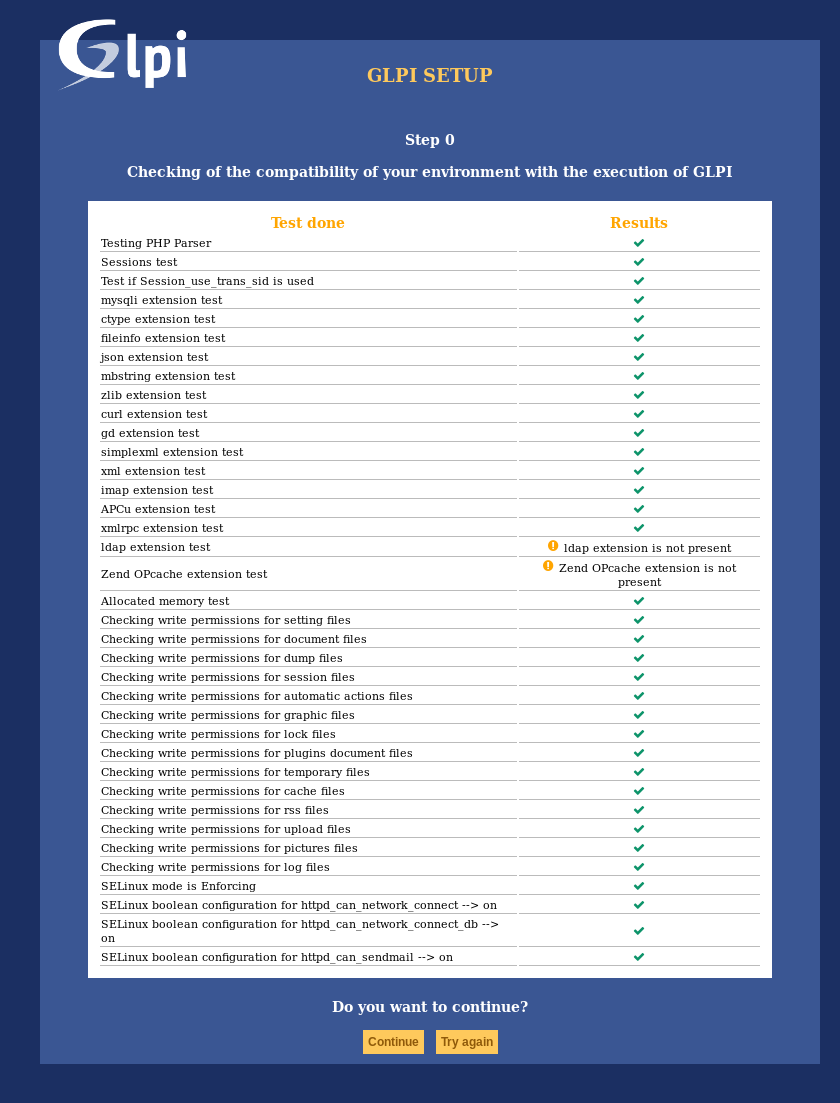
Some prerequisites are optionals, it will be possible to continue installation event if they’re not met.
Database connection
Database connection parameters are asked.
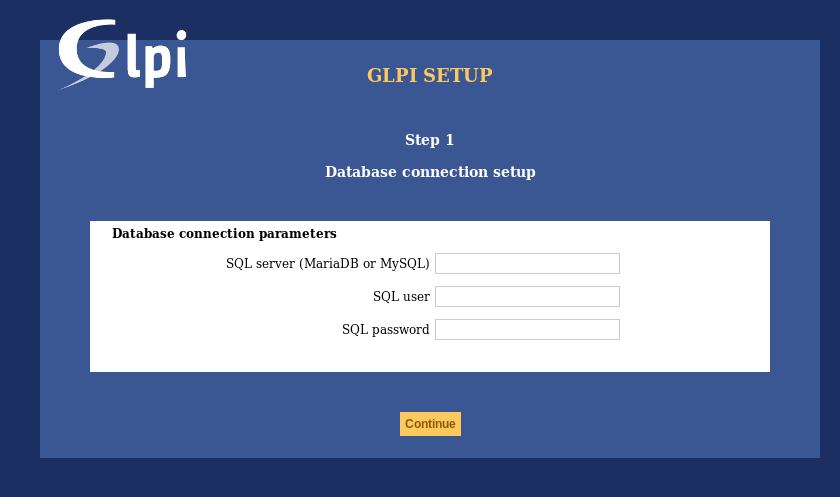
MySQL server: enter the path to your MySQL server, localhost or mysql.domaine.tld as example;
MySQL user: enter user name that is allowed to connect to the Database;
MySQL password: enter user’s password.
Once all fields are properly filled, validate the form.
A first database connection is then established. If parameters are invalid, an error message will be displayed, and you’ll have to fix parameters and try again.
Database choice
Once connection to the database server is OK, you have to create or choose the database you want for your GLPI and init it.

There are 2 ways to go:
use an existing database
Select this database in the displayed list. Validate to use.
Предупреждение
Selected database contents will be destroyed on installation.
Create a new database
Choose Create a new database, enter the database name in the relevant field and then validate to create the base.
Предупреждение
SQL user must be able to create new database for this option to work.
Database initialization
This step initializes the database with default values.
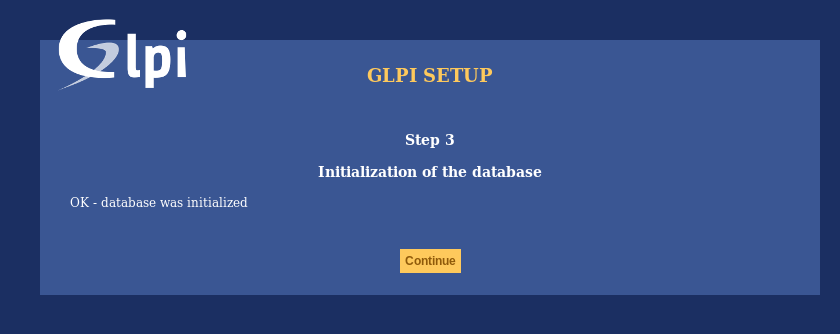
If there is any error; pay attention to the displayed informations.
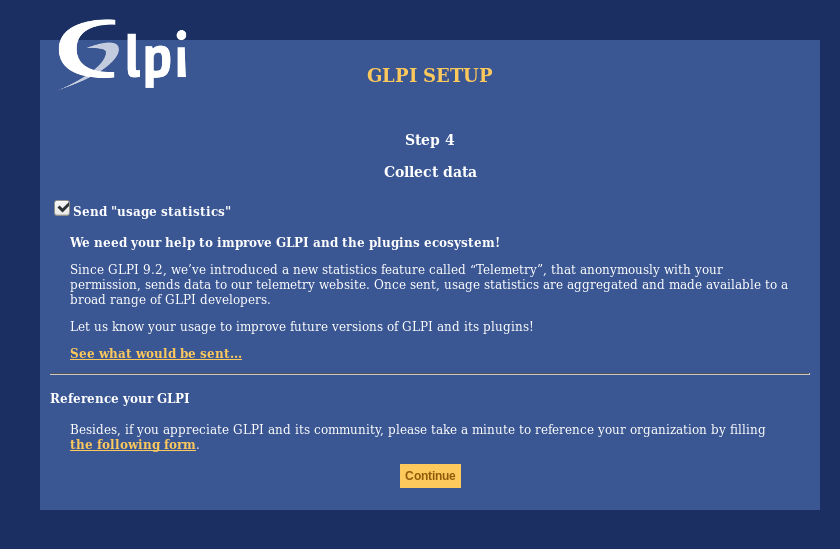
Telemetry informations
GLPI will ask you to share some Telemetry informations and to register. This is not mandatory.
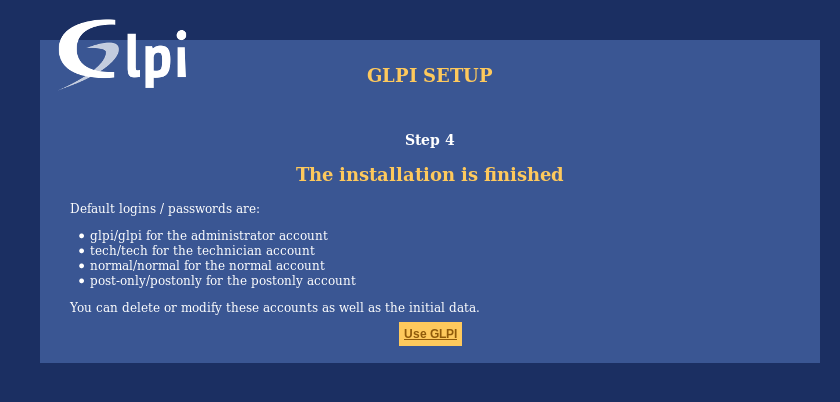
End of installation
This step presents a summary of the installation and give created users list. Please pay attention to those informations and validate to go to the app.
Примечание
Default user accounts are:
glpi/glpi admin account,
tech/tech technical account,
normal/normal «normal» account,
post-only/postonly post-only account.
Предупреждение
For obvious security concerns, you’ll have to delete or edit those accounts.
Before removing the glpi account, please make sure you have created another user with super-admin profile.
